Welcome to the wonderfully simple world of sourdough bread! Whether you’re a novice in the kitchen or an experienced chef, this recipe is perfect if you enjoy preparing dinner quickly and with ease.
Ingredients You’ll Need:
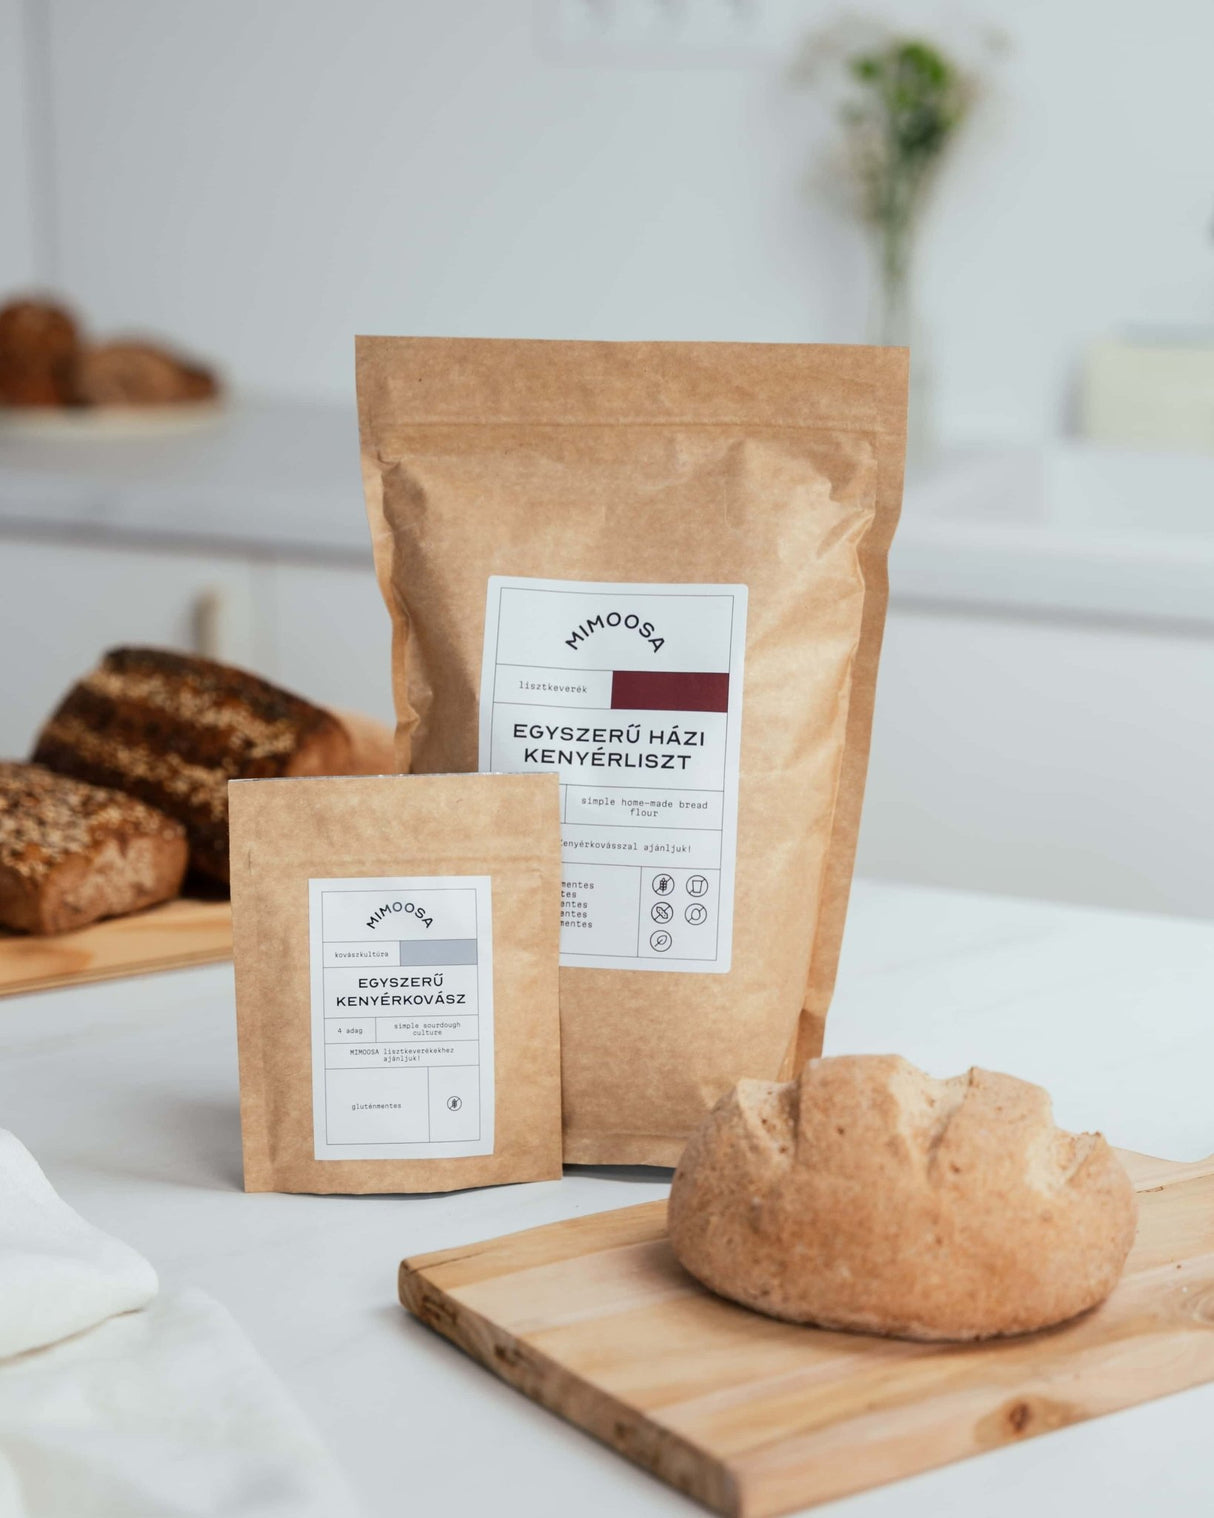
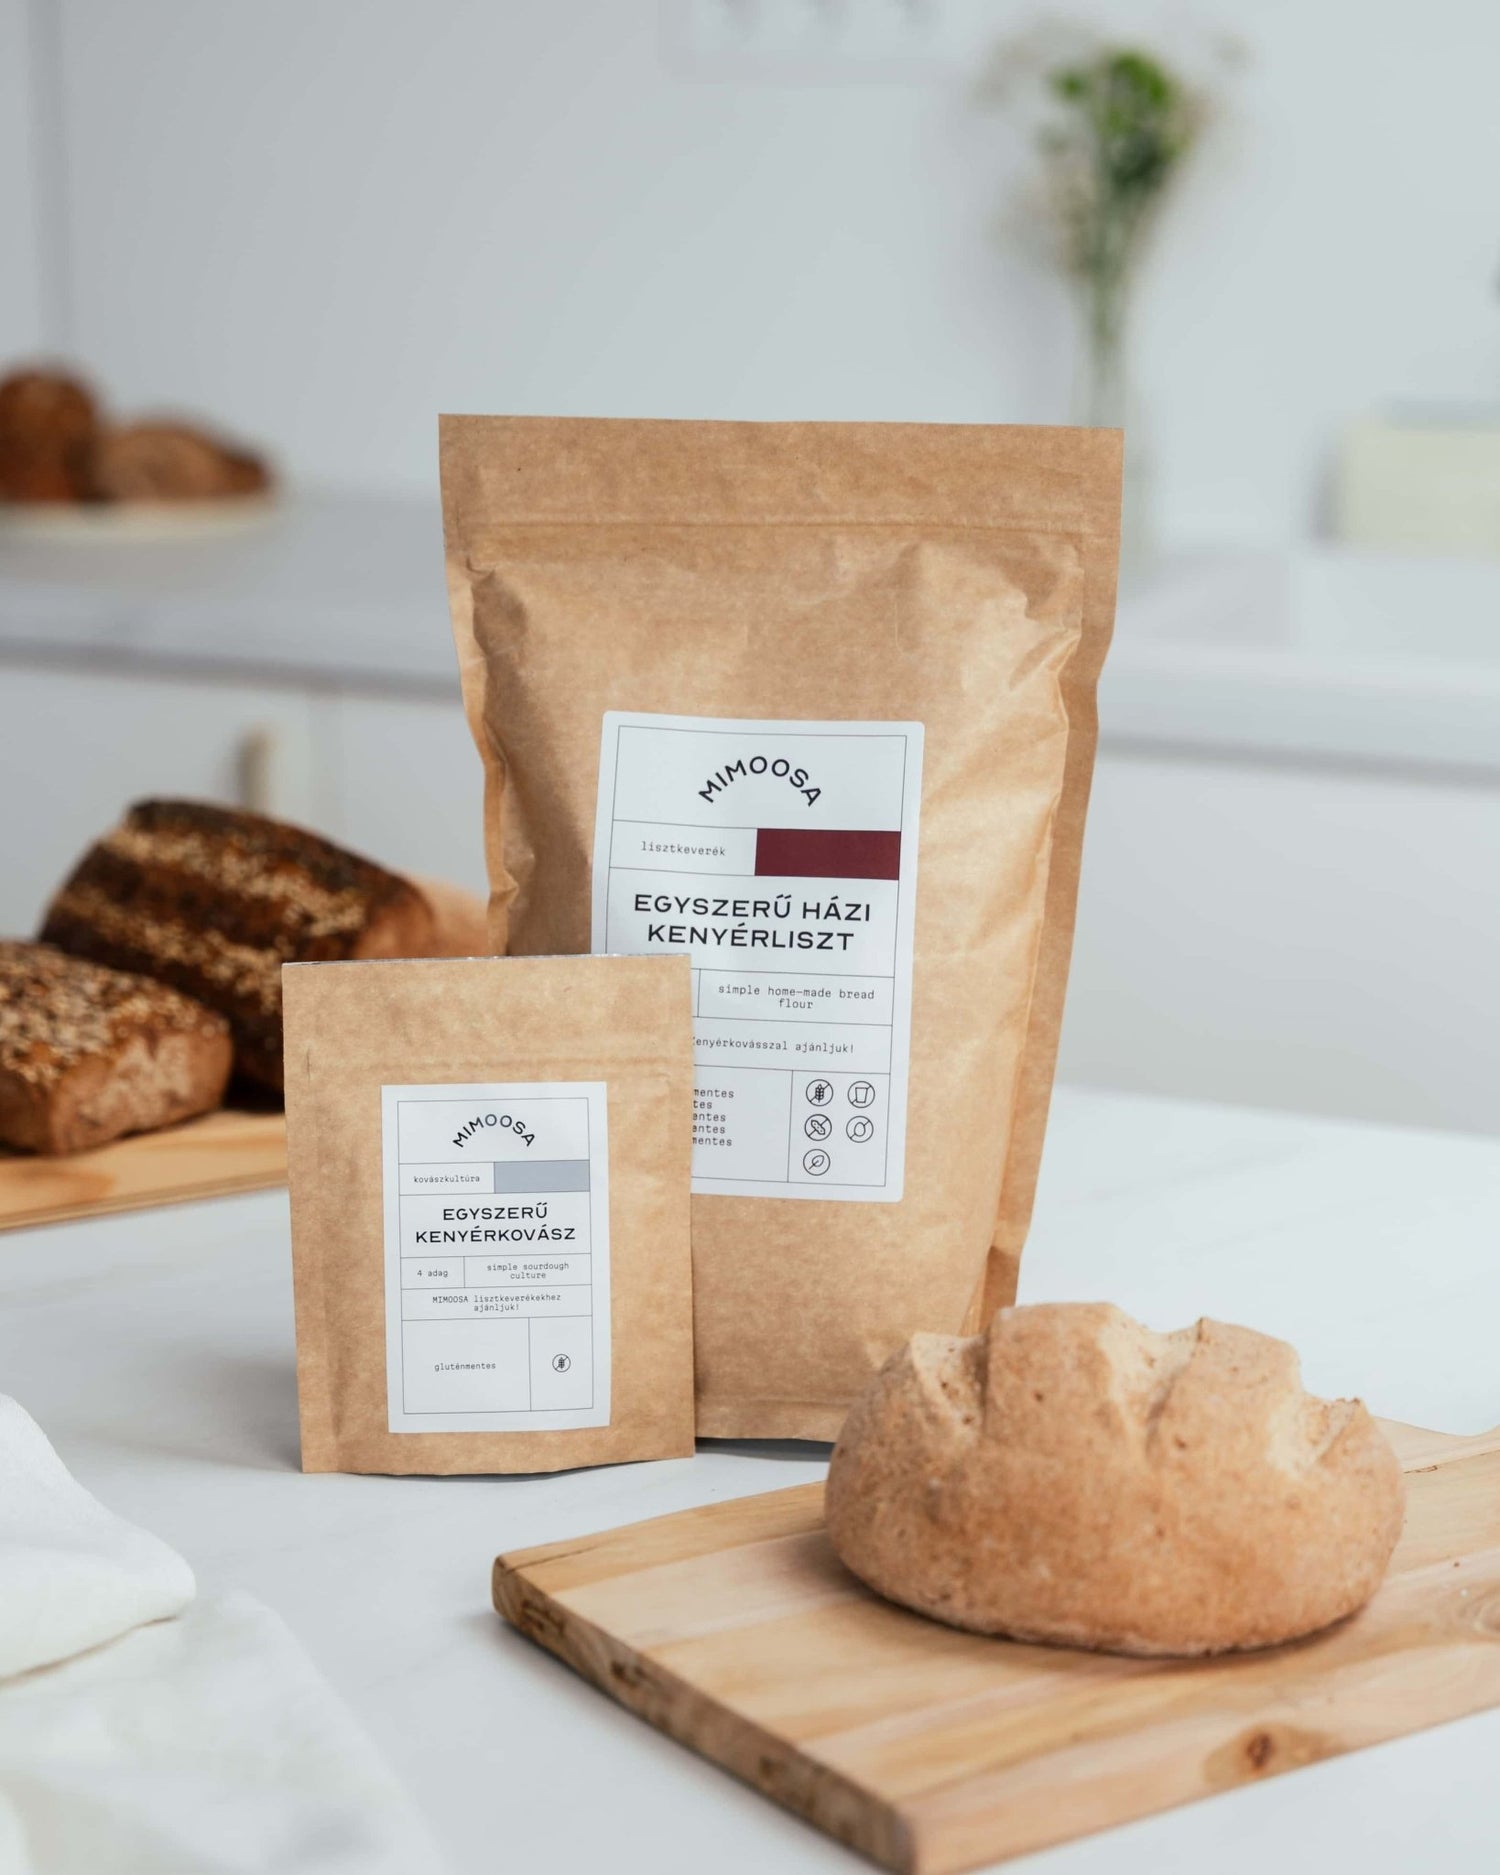
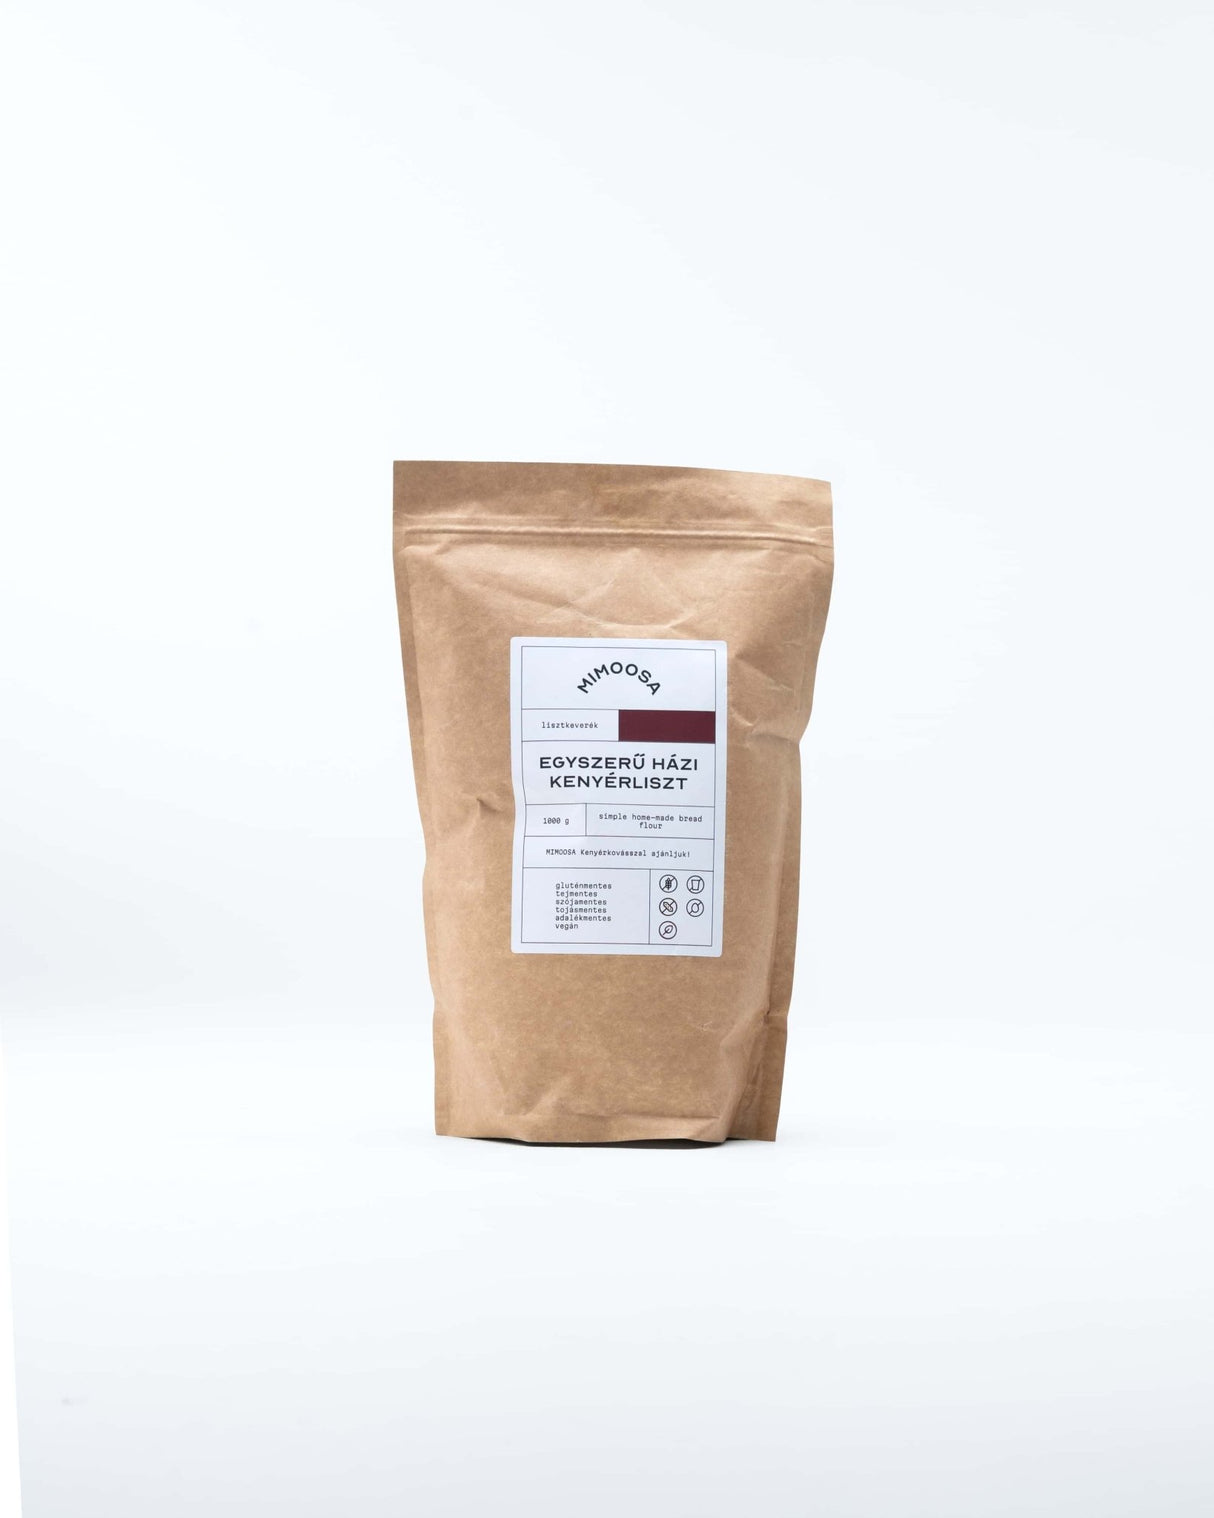
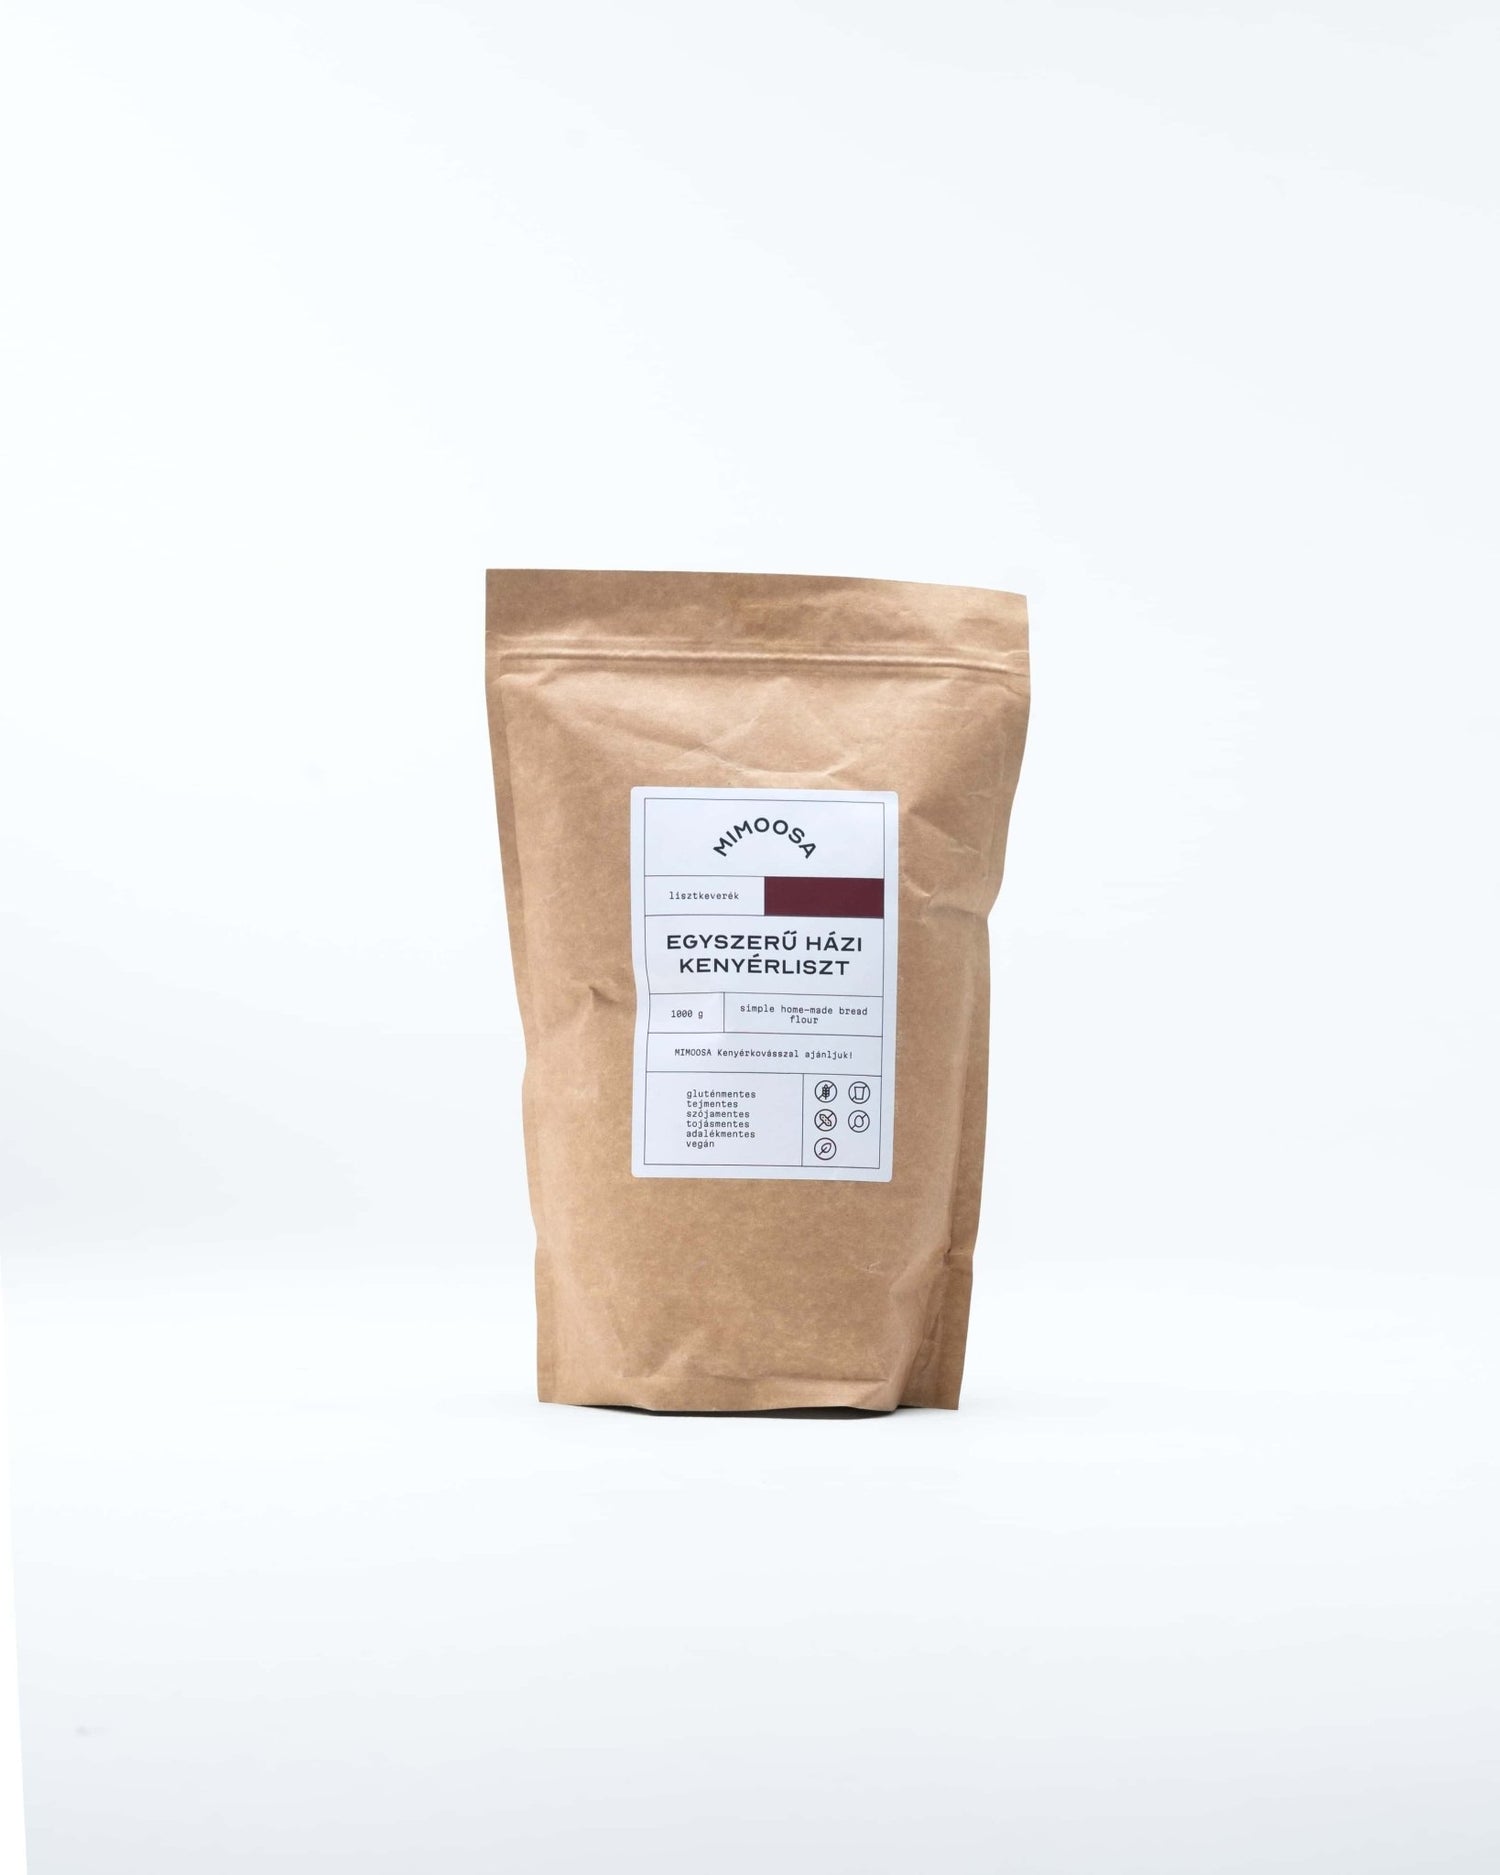
- 250 g Mimoosa Simple Homemade Bread Flour
- 6 g salt (approximately one teaspoon)
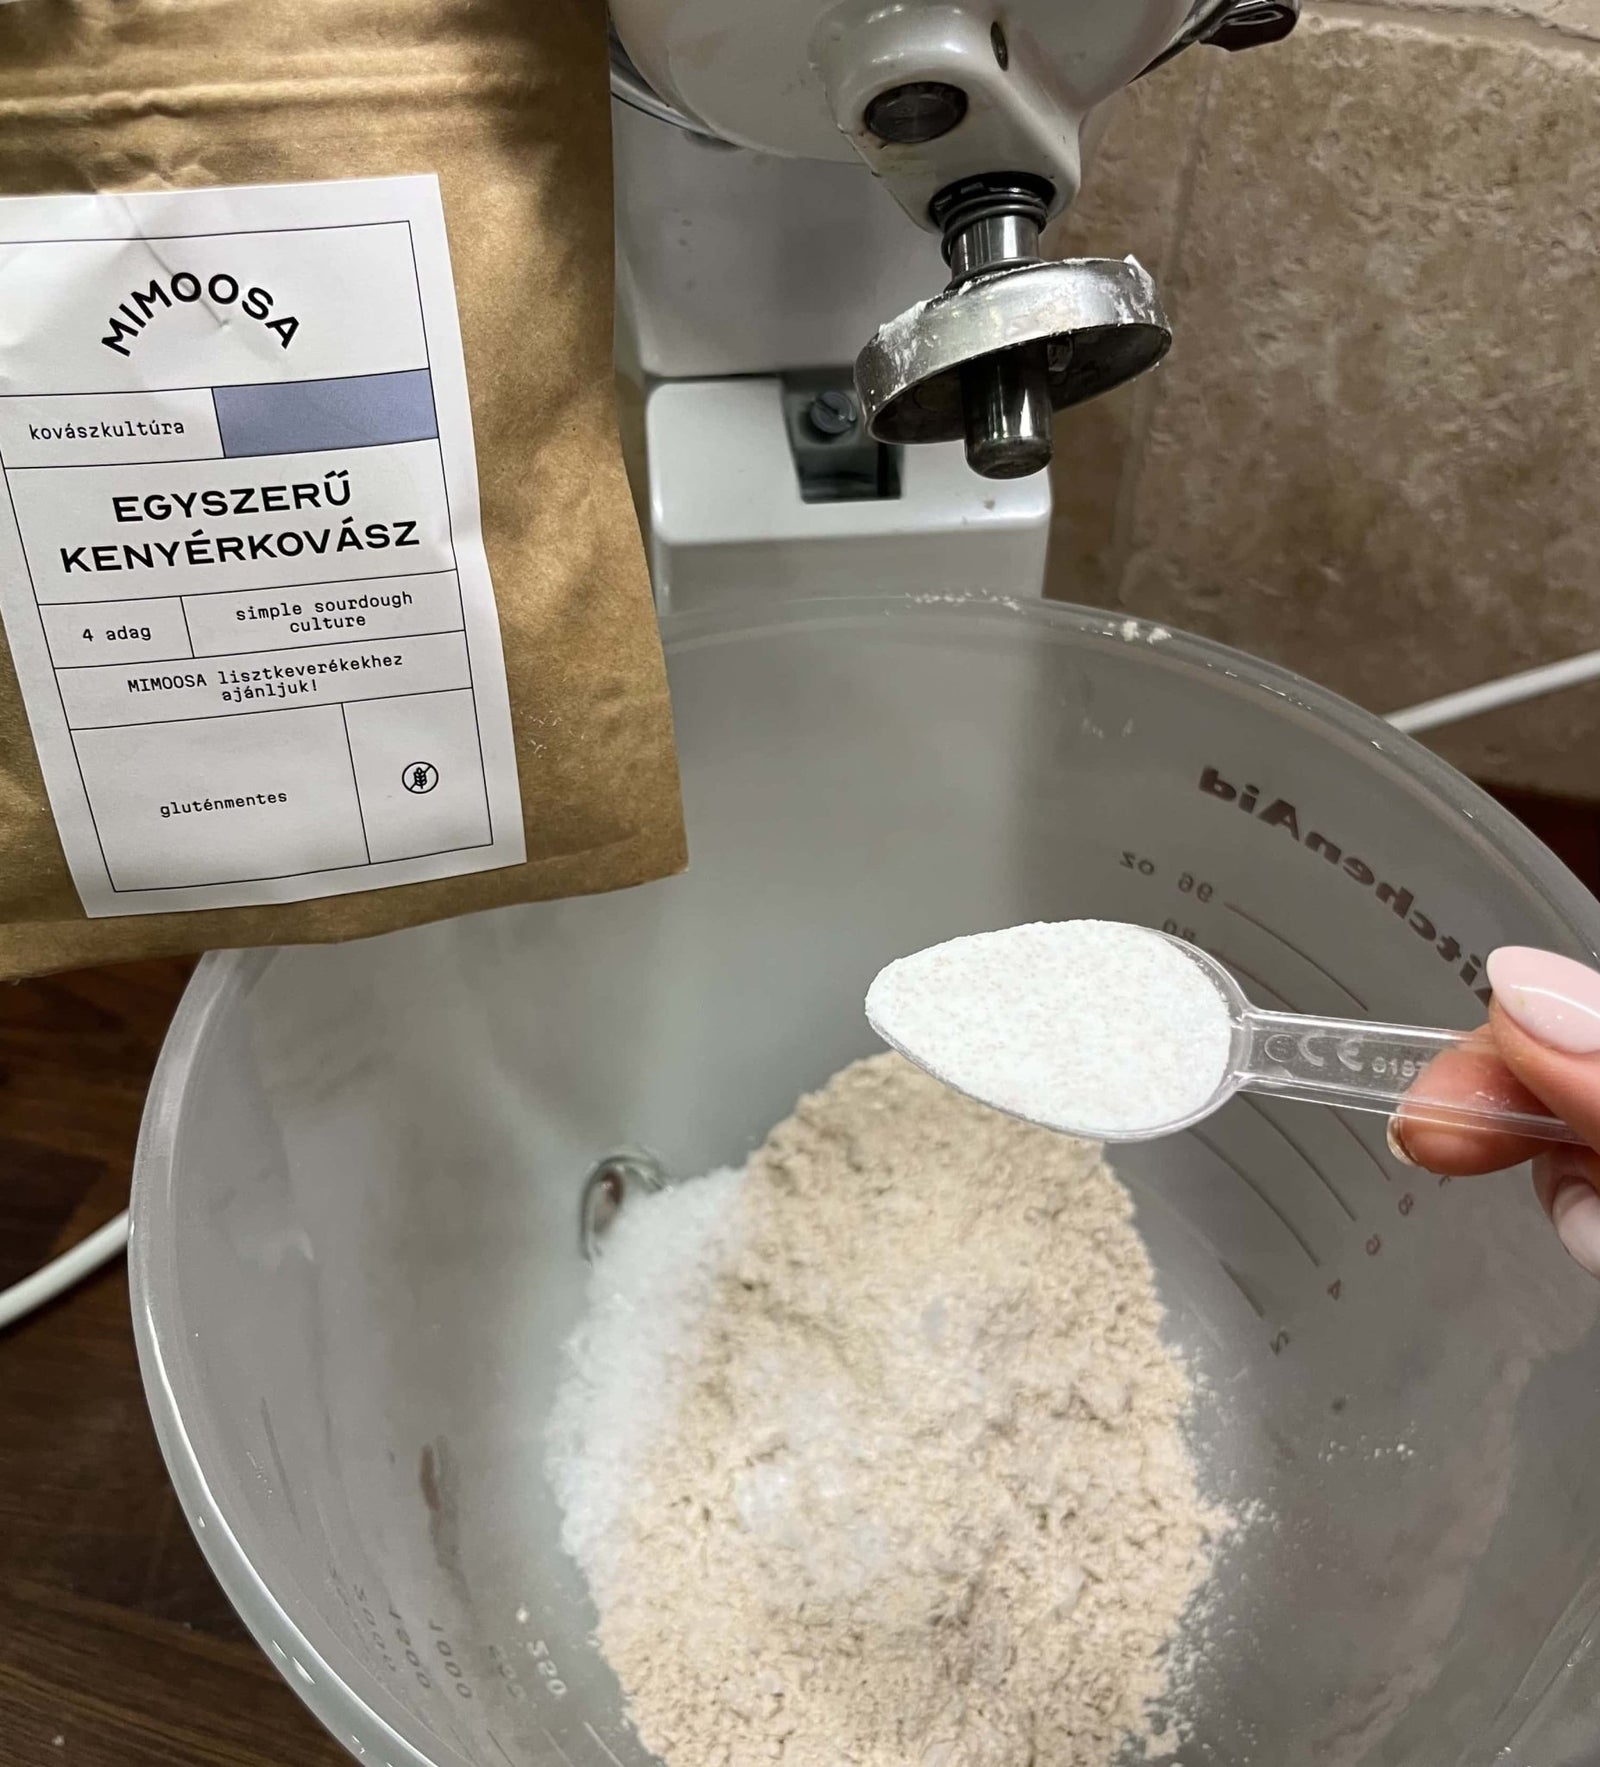
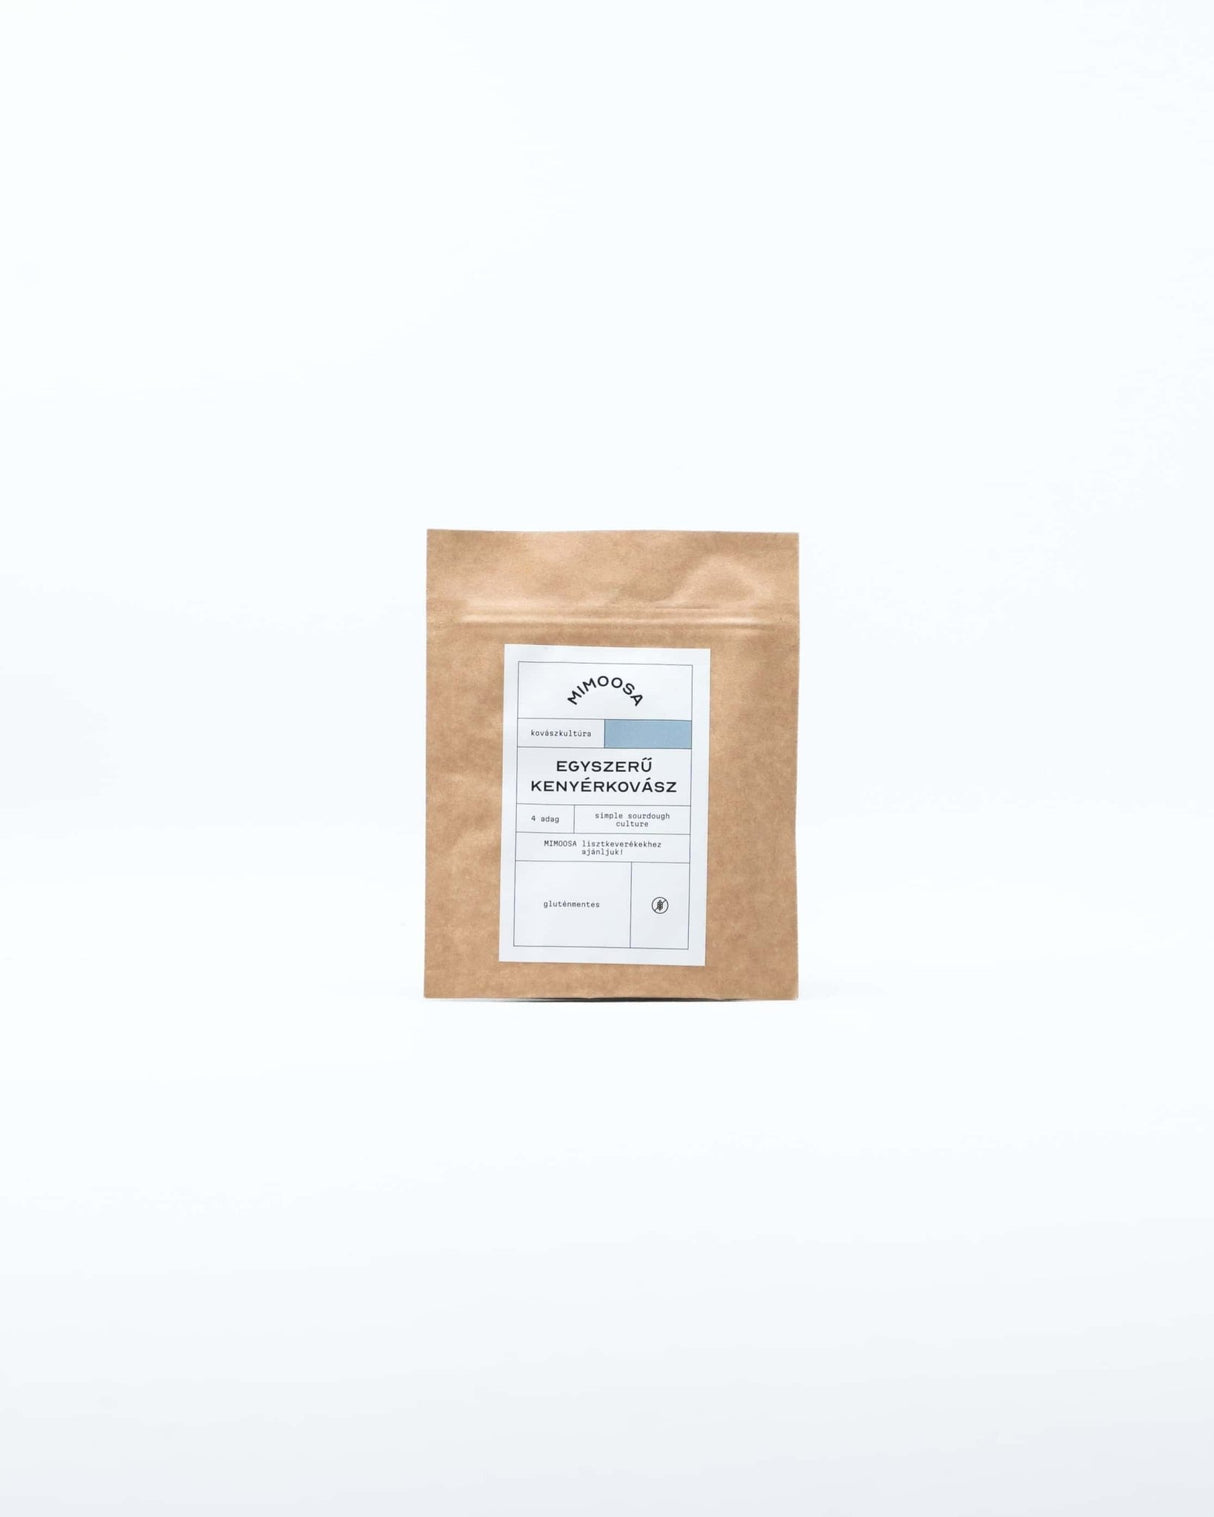
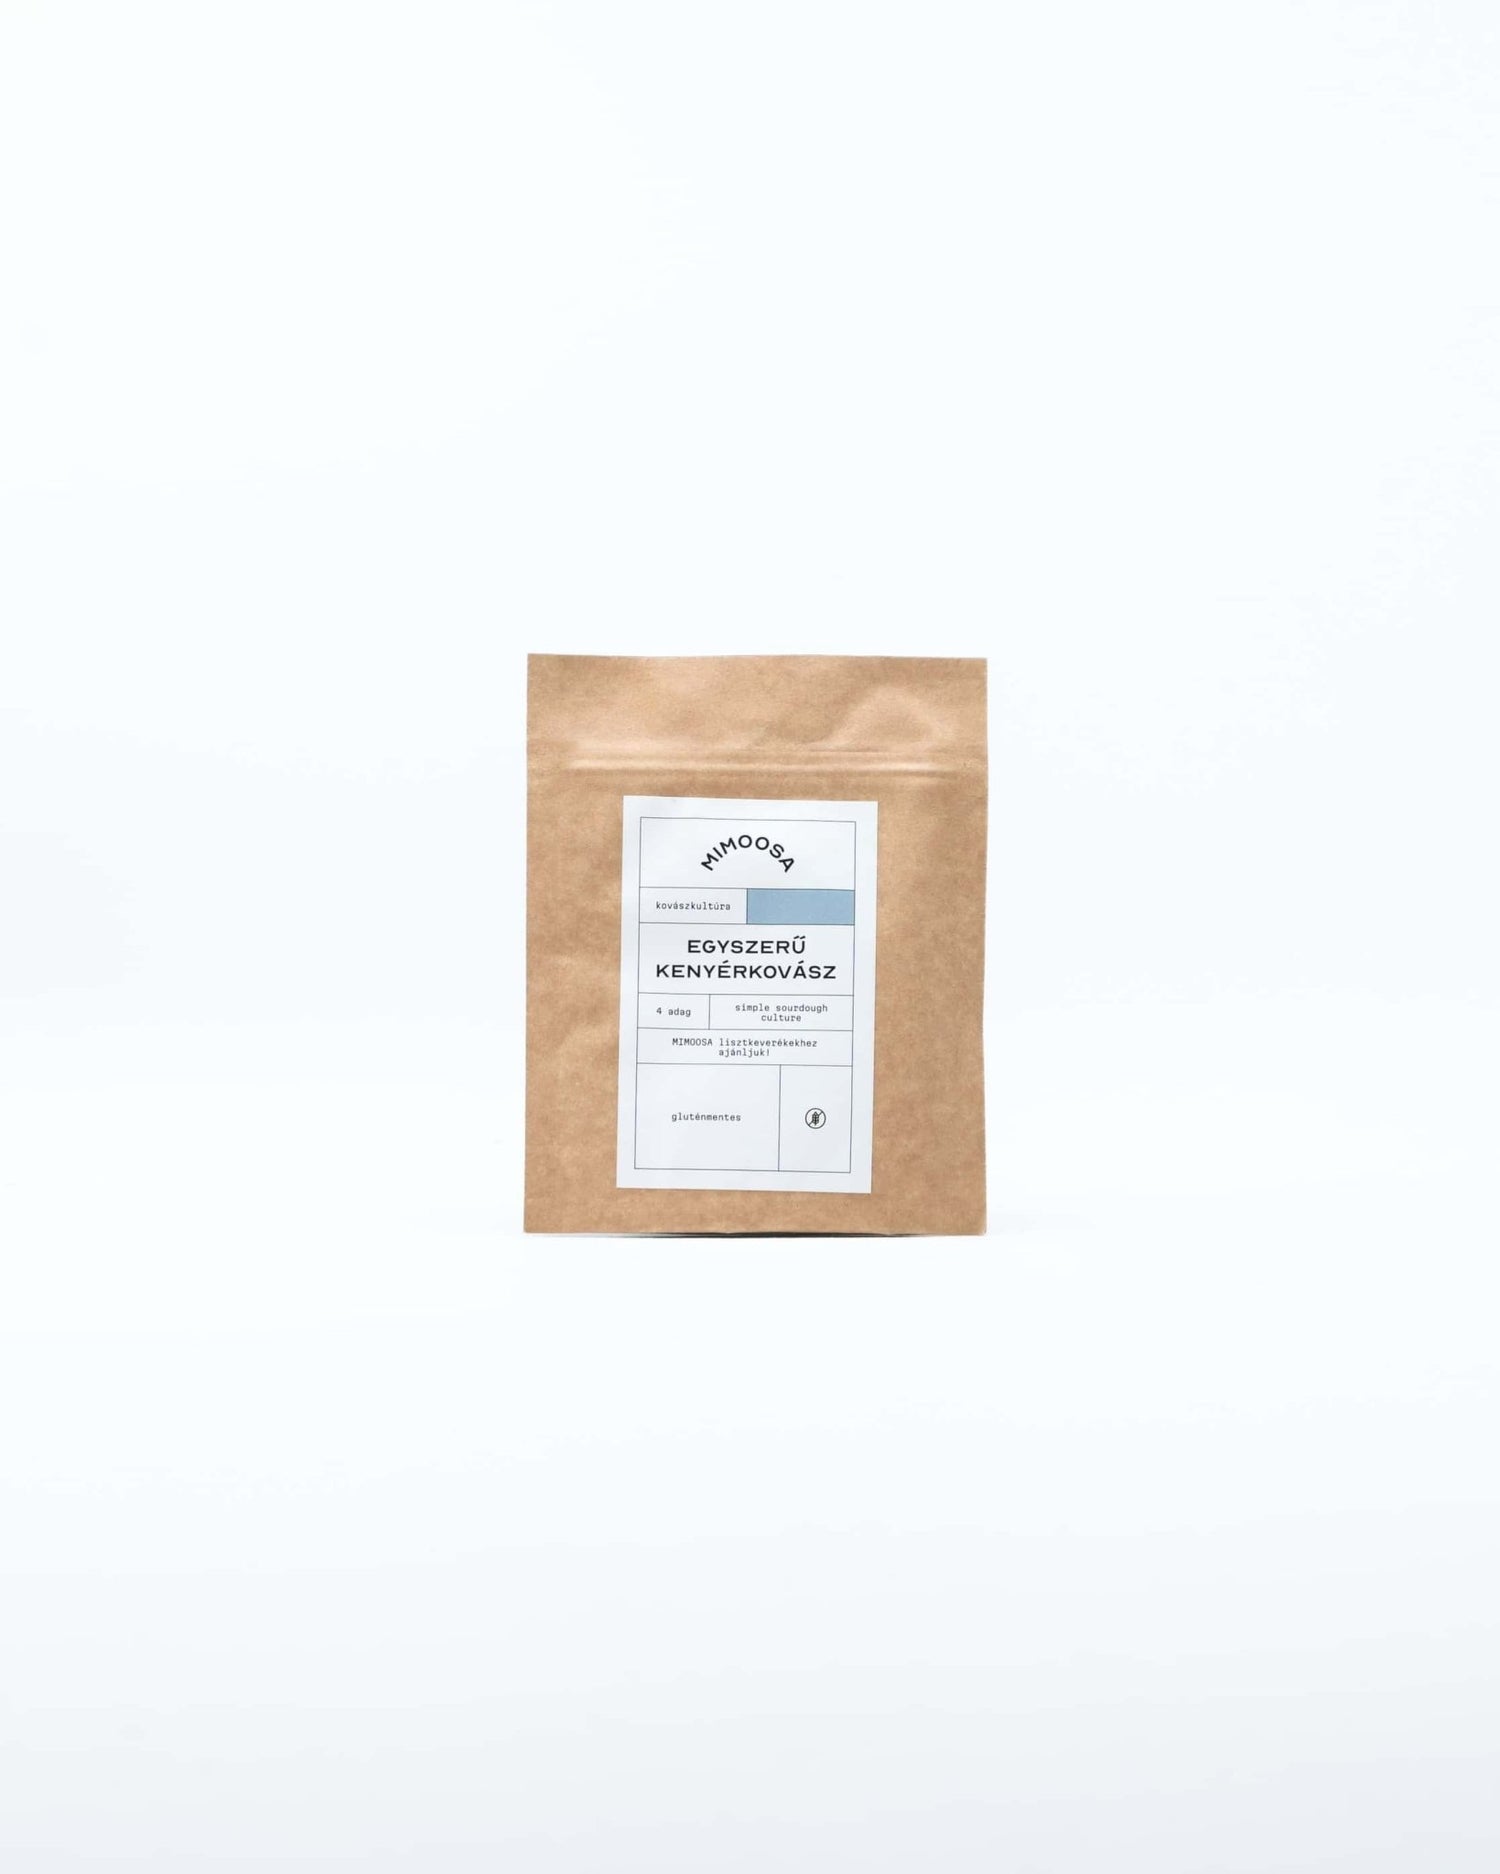
- 1 measuring spoon of Mimoosa Simple Sourdough Culture
- 50 ml water at 40-45°C (if it’s too hot, it will harm the starter; too cold, and the dough won’t rise properly).
Step 1: Mix the Dry Ingredients
Combine the flour, the sourdough culutre, and salt in a mixing bowl. Place the bowl on a scale for accurate measurements, then stir everything together thoroughly. Think of it like life: toss everything in, stir it around, and hope something good comes out!

Step 2: Add Water and Stir
Warm the water to 40-45°C and slowly pour it into the mixture. Using a spoon or spatula, mix it quickly. The dough will initially feel sticky and stretchy - this is exactly what you want! It ensures a beautifully airy and elastic loaf.

Step 3: Knead the Dough
Once the water and flour are fully incorporated, it’s time for hands-on work. Transfer the dough to a lightly floured surface, and knead it for a few minutes until it becomes smooth and uniform. Since it’s a gluten-free dough, the texture will differ from traditional bread - it may feel slightly sticky and won’t smooth out completely, but don’t worry; your bread will still be delicious!

Step 4: Shape and Proof
Shape the dough into a round loaf, baguette, or smaller rolls, depending on your preference. Work quickly here, as gluten-free dough tends to become less pliable over time. Place your shaped dough on a floured baking sheet or leave it in the bowl. Cover it with plastic wrap or a clean kitchen towel, and let it rest at room temperature for 10-12 hours. This gives the sourdough time to work its magic and allow the bread to rise beautifully.

Step 5: Extended Proofing for Extra Flavor (Optional)
For a longer fermentation and richer flavor, move the dough to the refrigerator after the initial room-temperature proofing. Let it rest there for another 10-12 hours. The cold slows the fermentation process, resulting in deeper flavors and a lighter crumb structure. It’s a great option if you want to bake fresh bread the next morning.
Step 6: Preheat and Prep
Preheat your oven to 210°C. Let the dough come back to room temperature if it has been refrigerated. Transfer it to a floured baking sheet, and score the top with a sharp knife to create a beautiful design and allow steam to escape. For a crispier crust, lightly brush the top with olive oil.

Step 7: Bake to Perfection
Place the bread in the preheated oven and bake at 210°C for 20 minutes. Then, reduce the heat to 200°C and bake for an additional 30 minutes. Baking times may vary slightly depending on your oven, but a total of 55-60 minutes is typical. To add steam, place a heatproof dish with a few cups of water at the bottom of the oven or toss in a few ice cubes. The steam helps retain the bread’s moisture while giving it a lovely crust.

Enjoy the aroma filling your kitchen as your bread bakes. Once out of the oven, let the bread cool completely on a wire rack before slicing. This step ensures the interior sets properly for a perfect texture.
Happy baking!

